1) Upload a PowerPoint or Keynote document you've already created (may need to be exported to a PDF)
2) Create a lesson from scratch using Nearpod's tools
1) Uploading to Nearpod (from PPT)
This option allows you to upload PowerPoint and Keynote presentations you've already created. Not only can this save you a great deal of time, but it also allows you more creativity with your design since PowerPoint has many more design options (backgrounds, text features, etc.) than are available in Nearpod's presentation creator.
Open the PowerPoint document you would like to put into Nearpod.
Click the Create tab on your Nearpod home screen (you will automatically be rerouted to the web browser if you're using the app). Title your lesson and then drag and drop the PPT file onto the webpage.


Now you can add interactive content to the lesson by clicking Add Slide.
Add Content: slideshows, videos, virtual field trips, audio, PDF
Add Web Content: links to website of your choice
Add Activity: open ended questions, poll, quiz, draw it

At any time you can preview the presentation or share an editable copy with a colleague through email. To move around slides, click and drag them to where you would like them to be. Be sure to unclick them when you're finished moving.
When you're finished with the presentation, click Create in the bottom right corner. This will prompt you to tag the grade level and subject before submitting, or publishing it to your personal Nearpod library.

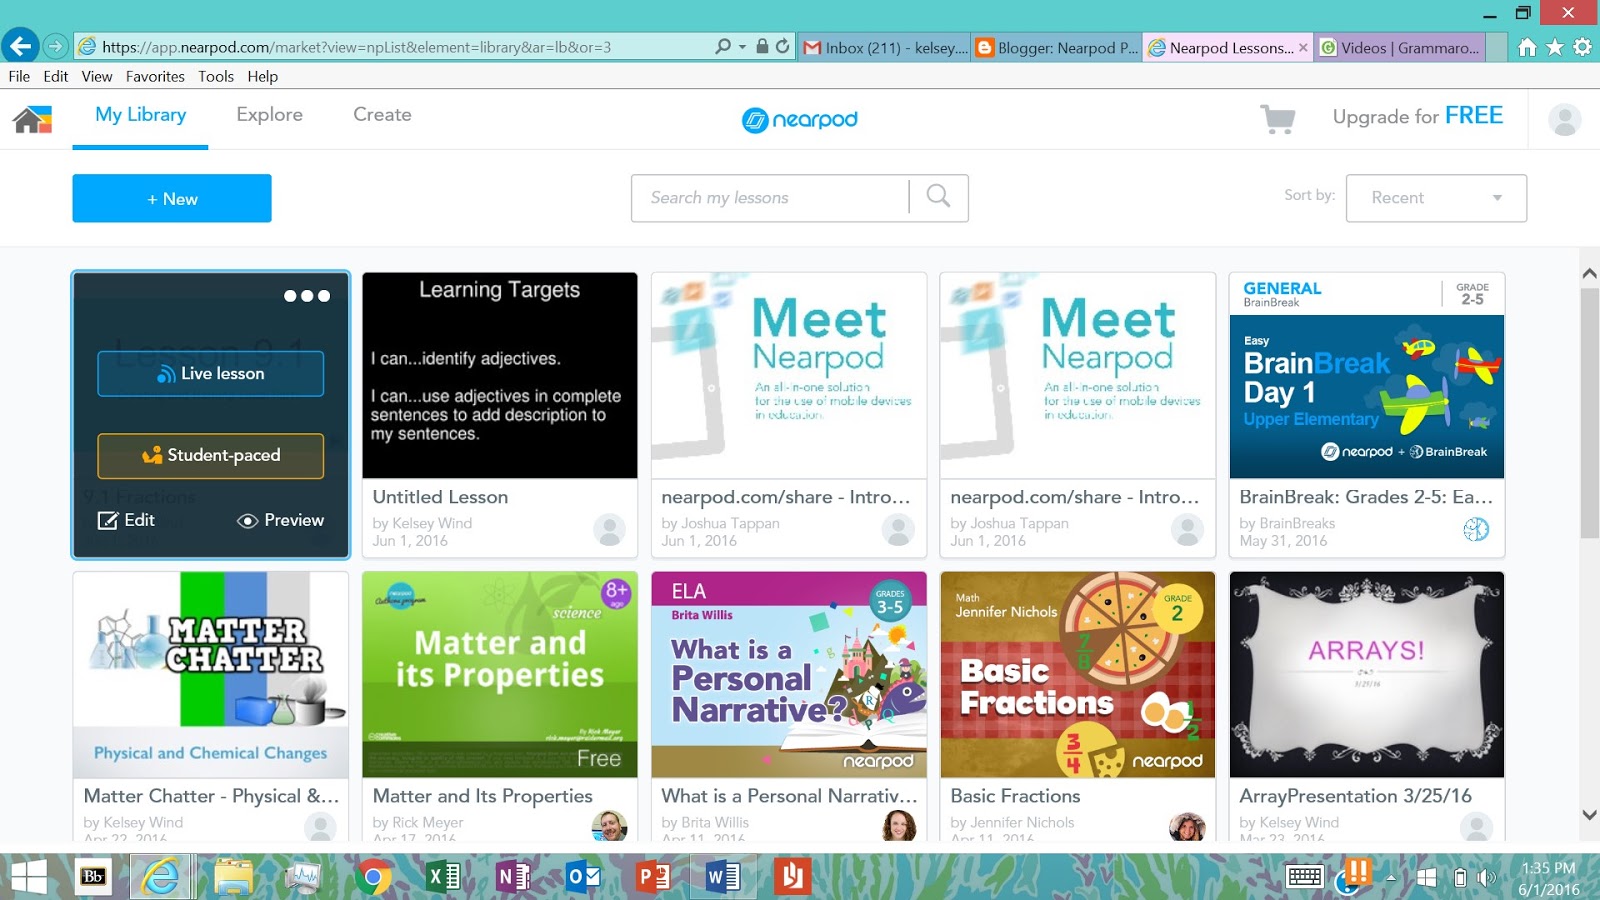
When you go back to your library, you will be able to edit, preview, or start a new session with students (live or self-paced).
2) Creating a Lesson From Scratch
In this option, you will create slides one-by-one through Nearpod. This allows you to create on-the-go without having to make a PPT presentation ahead of time. You will find that there is no freedom to format text or background colors, so if you like to have more control over the aesthetic of the presentation, you may want to create it in PPT first.
Click the Create tab on your Nearpod home screen (you will automatically be rerouted to the web browser if you're using the app). Title your lesson and then click Add Slide, Add Content, Slide.

Type the text you would like to include and click save when you're finished. This will take you back to the page where you'll be able to add another slide or activity.


Now you can add interactive content to the lesson by clicking Add Slide.
Add Content: slideshows, videos, virtual field trips, audio, PDF
Add Web Content: links to website of your choice
Add Activity: open ended questions, poll, quiz, draw it
At any time you can preview the presentation or share an editable copy with a colleague through email. To move around slides, click and drag them to where you would like them to be. Be sure to unclick them when you're finished moving.
When you're finished with the presentation, click Create in the bottom right corner. This will prompt you to tag the grade level and subject before submitting, or publishing it to your personal Nearpod library.
When you go back to your library, you will be able to edit, preview, or start a new session with students (live or self-paced).
No comments:
Post a Comment